
Scratching your head over how to install LED Puck lights? Don’t worry because you have come to the right place. Time to say goodbye to those medieval ages and illuminate every nook of your space with the majestic glow of LED Puck Lights! It’s time to explore the radiant realm, where these small lighting wonders provide a bright, dramatic effect. Today we will dive deep into how to install LED Puck lights.
Table of Contents
- So, what’s the Big Deal about These Little Lights?
- Bring Out the Decorator in You with LED Puck lights
- Deep dive on how to Install LED Puck Lights
- Installation Procedures
- Unique Puck Light Decoration Ideas
- Conclusion:
So, what’s the Big Deal about These Little Lights?
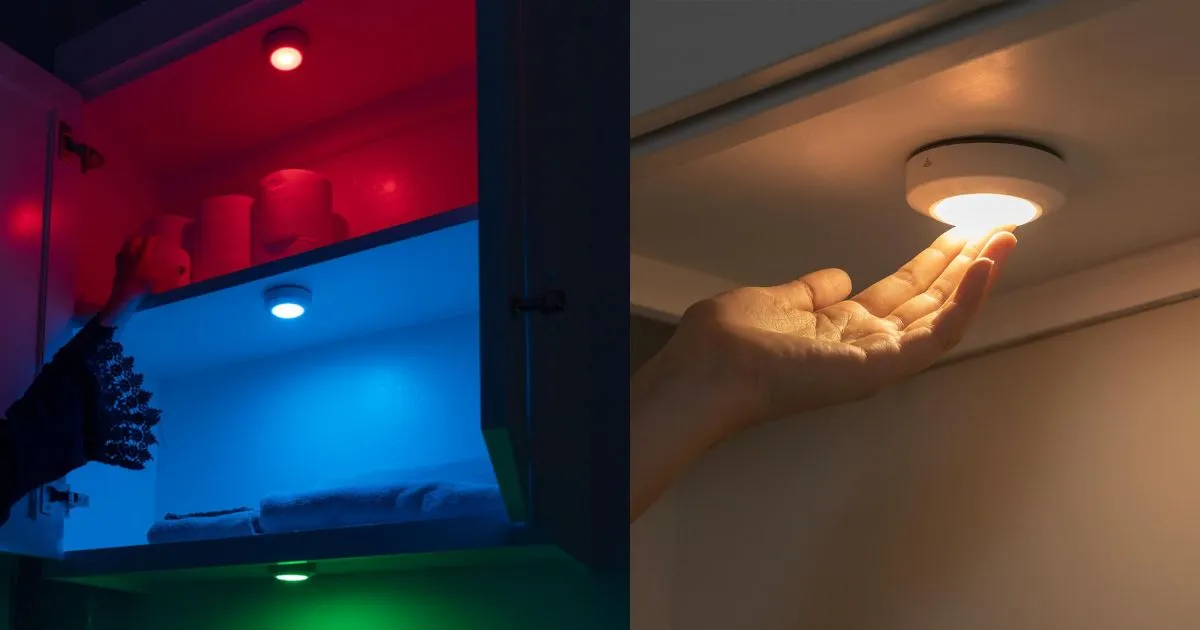
The Puck Lights are your new portable, stylish, and very adaptable lighting companions. These tiny discs of joy will significantly improve your world, whether it is by bringing life to a dark closet, highlighting your favorite artwork, or making a comfortable reading corner. The best thing, though? They are gentle on your eyes and electricity bill because of the mighty LED technology! Are you puckin’ excited yet?
Bring Out the Decorator in You with LED Puck lights
a. Guiding Lights in the Dark: Have you ever woken up in the middle of the night and stumbled down the hall? Or, if you have young children, it might be very dangerous to navigate at night. A nightlight might be needed in the hallway, but it might not look so classy. Puck Light can be an elegant and stylish alternative to this. Light your corridors with a soft glow, ensuring no more nighttime stumbles without compromising style!
b. Culinary Illumination: Beautify your kitchen by placing puck lights under the cabinets, showcasing your countertop’s elegance!
c. Curating a Cozy Reading Space: The light from puck lights is perfect for learning or reading. Make a comfy and soothing reading space for yourself by using Puck Lights. It’s a great idea to use puck lights to read in bed also.
d. Outdoor Whisperer: Let puck lights gently illuminate your nights, keeping the atmosphere intimate and the star-gazing undisturbed!
e. Gentle Wake-ups: Install dimmable puck lights in your bathroom to safeguard your sleepy trips and protect your precious circadian rhythm!
Deep dive on how to Install LED Puck Lights
Necessary Tools and Materials
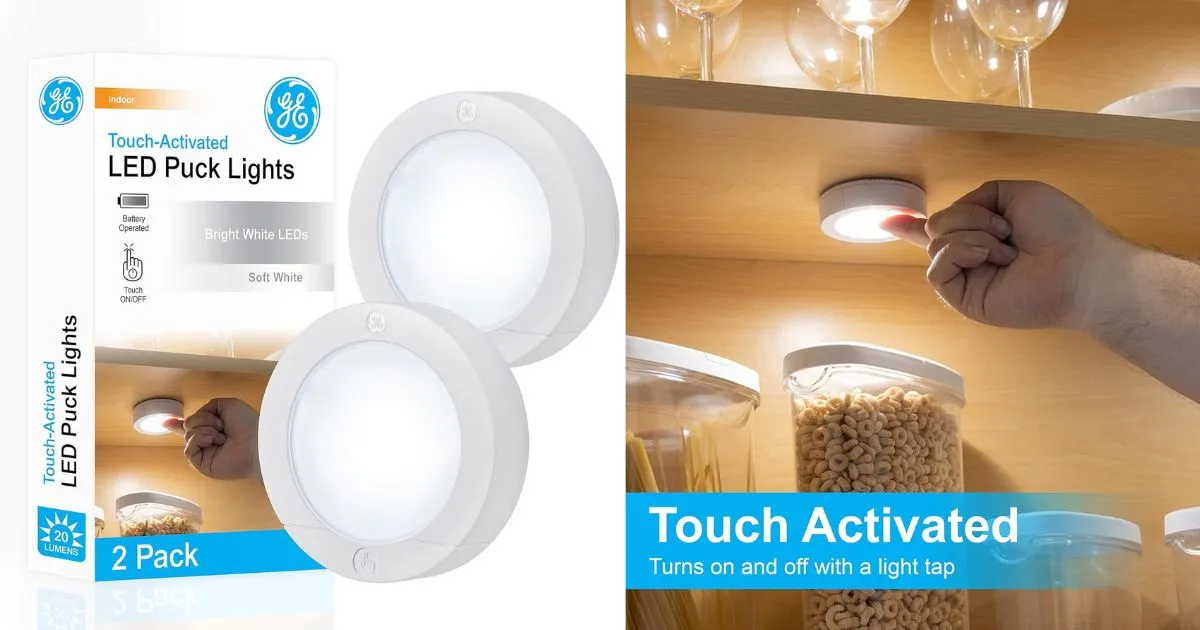
- LED Puck Lights: Available in wired or battery-operated models.
- Measuring Tape: To ascertain accurate placement.
- Pencil: For marking placements.
- Drill and Drill Bits: Required for wired installations.
- Screws or Adhesive Strips: As per the model’s specifications.
- Wire Strippers and Connectors: Needed for electrical installations.
- An Adventurous Spirit: Essential for all DIY projects!
Planning and Placement
Identifying the optimal placement for your LED puck lights is the initial and perhaps, pivotal, step in your illumination journey. Whether situating them under kitchen cabinets to enhance food preparation visibility or within a bookshelf to highlight your literary collection, measuring and marking each light’s position ensures equidistant and symmetrical installations.
Installation Procedures

1. Determine the Position:
The first step of how to install LED Puck lights is to determine the ideal spot for the LED puck lights. Place them at a distance of 8 to 12 inches apart or as advised by the manufacturer to ensure even illumination.
2. Mark the Location:
Mark the exact positions where each puck light will be positioned using your measuring tape and pencil. This step is often ignored by many.
3. Mounting Base or Bracket Installation:
Many LED puck lights include bases or mounting brackets. Place the bracket or base where you have originally marked, and then take note of the screw holes. Drill pilot holes at the corresponding locations. Finally, using the supplied screws, install the bracket or base.
4. Installing LED puck lights that run on batteries:
Put the puck light’s required batteries inside. Attach the LED puck light to the base or bracket of the device. It might snap, twist, or screw into place depending on the design.
5. How to Install LED Puck Lights That Plug In:
Install the puck light on the base or bracket. Run the power cord To the closest outlet. For kits with multiple lights, they might connect to a central hub, which gets plugged into an outlet. Organize and hide the cords using adhesive clips or wire ties if necessary.
6. Installing Hardwired LED Puck Lights:
Before installing hardwired LED puck lights, make sure the circuit breaker is switched off. Remove the insulation from the electrical wire ends on the LED puck light and the wall/ceiling. Install the LED puck light on the base or bracket.
Utilizing wire connectors, attach the wires of the puck light to the house lines in the following ways: black to black (hot), white to white (neutral), and green or bare to green or bare (ground). Make sure the connecting wires are securely tucked inside the junction box or hollow. Restart the power and check the lights.
7. Final Adjustments:
Make any final adjustments needed to get the desired lighting effect if your LED puck lights are movable or have many lighting modes.
8. Clean Up:
Compile all of your equipment and any remaining supplies. Keep any extra screws or parts for later use.
9. Safety Advice:
When working with electricity, always turn the power off at the source. Follow the manufacturer’s recommendations, especially with regard to the suggested bulb type and wattage. Keep puck lights far away from combustible materials.
Unique Puck Light Decoration Ideas
1. Cozy Reading Nook:
- Create a cozy reading nook by installing puck lights under a lofted bed or in a secluded corner, ensuring a snug spot that marries comfort and functionality.
2. Illuminated Plant Displays:
- Showcase your indoor plants by placing puck lights nearby, not only ensuring they get adequate light but also creating a lush, vibrant display.
3. Hidden Kitchen Lighting:
- Position puck lights under cabinets or above countertops to brighten your cooking area, adding both clarity and ambiance to your culinary adventures.
Tips for Using Puck Lights
- Color Matters: Consider the color temperature of puck lights, ensuring it complement the space’s overall aesthetic.
- Power Source: Choose between wired, battery-operated, or rechargeable puck lights depending on the project’s requirement.
- Placement Perfection: Prioritize symmetry and even spacing during installation for a harmonious look.
- Control: Opt for dimmable or remote-controlled puck lights to tailor the brightness to different moods and occasions.
Conclusion:
LED Puck Lights aren’t just a lighting solution – they’re tiny guardians that fend off darkness, decorators that highlight your precious pieces, and gentle companions that guide your nighttime strolls. Affordable, energy-efficient, and enchantingly versatile, these luminous little disks are ready to sprinkle light and joy into every corner of your space. So, why keep the fun waiting? Let’s get this puck light party started and illuminate our world in delightful, unexpected ways. Hope this article answers all your questions regarding how to install led puck lights. Check out indoor glow for more of such amazing posts.