

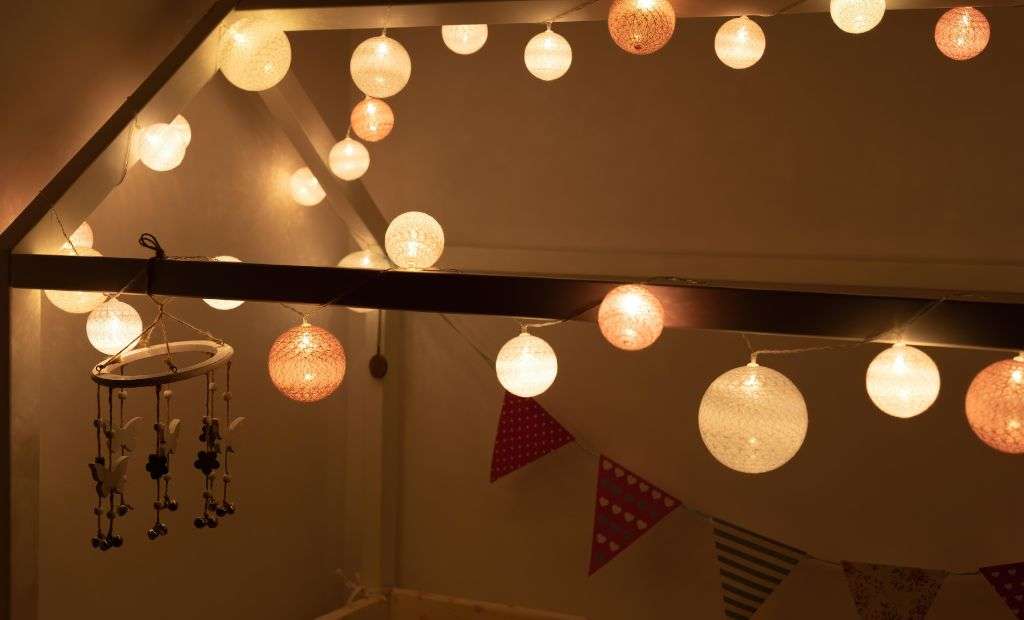
In this article, we shall dive deep into 5 creative ways to decorate room with Fairy Lights. Fairy lights, also known as string lights or twinkle lights, have become a popular decorative element in modern homes due to their versatility and whimsical charm. They’re not just for the holiday season anymore! With a little creativity, fairy lights can transform the ambiance of any room, adding warmth, light, and a touch of magic.
Table of Contents
Five creative ways to decorate room with fairy lights
1. Fairy Light Wall Art

Create a captivating wall display by shaping fairy lights into a design or message. Whether it’s a simple heart, a star, your initials, or an inspirational word, fairy lights can be easily manipulated into various shapes and attached to the wall using transparent hooks or adhesive clips. This personalized light wall art serves as a stunning visual focal point and can replace traditional artwork or complement existing decor.
Materials Needed:
- Fairy lights (preferably LED for safety and energy efficiency)
- Clear adhesive hooks or wall-safe tape
- Measuring tape
- Pencil or chalk (for marking)
Installation Process:
- Plan Your Design: Decide on the shape or word you want to create with your lights. Sketch it out on paper first or use a projector to cast the image on the wall for a more accurate guide.
- Prepare the Wall: Ensure the wall is clean and dry. Mark the key points of your design lightly with a pencil or chalk. This will serve as a guide for where to place hooks or tape.
- Install Hooks or Tape: Place clear adhesive hooks or small pieces of wall-safe tape at each marked point on your design. Ensure they’re securely attached and spaced out evenly according to your design.
- Test the Lights: Before you attach them to the wall, lay the fairy lights out on the floor and plug them in to ensure all bulbs are working and the length is sufficient for your design.
- Attach the Lights: Starting at the bottom or one end of your design, carefully attach the fairy lights to the hooks or secure them with tape. Follow the shape or letters you’ve marked on the wall, adjusting the lights as you go to create an even and attractive display.
- Final Adjustments: Once the lights are in place, plug them in and turn them off to see the full effect. Make any necessary adjustments to the layout or tightness of the lights to perfect your design.
- Enjoy Your Wall Art: With everything in place, your fairy light wall art is ready to illuminate your space!
2. Curtain of Fairy Lights

Turn an ordinary window or blank wall into a shimmering feature by hanging a curtain of fairy lights. Simply drape strings of lights vertically from a rod or directly onto a curtain of sheer fabric. The lights will create a soft, diffused glow, reminiscent of a starry night, adding depth and a cozy ambiance to the room. This is particularly effective in bedrooms or living areas where a calming and enchanting atmosphere is desired.
Materials Needed:
- Fairy lights (long strands work best)
- Curtain rod or wire (if not using an existing one)
- Sheer curtains (optional)
- Hooks or adhesive strips (for securing the rod)
Installation Process:
- Set Up the Rod: If you don’t already have a curtain rod installed, mount one above your window or against the wall. Ensure it’s securely fastened and can bear the weight of the lights (and curtains, if using).
- Prepare the Lights: Unravel your fairy lights and make sure they’re untangled. Plug them in to ensure all the bulbs work. If the strands are very long, consider looping them back and forth to create multiple layers.
- Hang the Lights: Start at one end of the rod and begin draping your fairy lights evenly across it, letting them hang down in straight lines. If the strands have loops or hooks, use these to secure them to the rod. Otherwise, use small pieces of wire or twist ties to attach them at regular intervals.
- Add Sheer Curtains (Optional): For a softer effect, hang a set of sheer curtains over the rod in front of the fairy lights. The fabric will diffuse the light, creating a gentle, glowing backdrop.
- Plug In and Arrange: Once all the lights (and curtains) are in place, plug in the fairy lights and turn them on. Adjust the strands as needed to ensure even spacing and a pleasing aesthetic.
- Enjoy Your Curtain of Lights: With the installation complete, your curtain of lights is ready to shine, adding a dreamy ambiance to your room.
3. Illuminated Canopy Bed
Transform your bedroom into a dreamy retreat by draping fairy lights over a canopy bed frame or attaching them around the headboard. The gentle, twinkling lights will create a serene and romantic environment, perfect for relaxing after a long day. If you don’t have a canopy bed, you can create a makeshift one by hanging lights with lightweight fabric from the ceiling, creating a whimsical canopy effect.
Materials Needed:
- Fairy lights (consider battery-operated or plug-in, depending on proximity to outlets)
- Sheer fabric or lightweight curtains
- Hooks or adhesive strips for hanging
- Measuring tape
Installation Process:
- Measure Your Bed: Measure the dimensions of your bed and the height of your ceiling to determine how much fabric and length of fairy lights you’ll need.
- Install Hooks: Install hooks or adhesive strips on the ceiling around your bed where the canopy will hang. If you have a four-poster bed, you might wrap the lights around the posts instead.
- Drape the Fabric: Hang the sheer fabric or curtains from the hooks to create a canopy effect. Arrange the fabric so it drapes beautifully around the bed.
- Add Fairy Lights: Attach fairy lights to the inside of the fabric canopy, securing them with small pieces of clear tape or simply weaving them in and out of the fabric. Ensure the end of the fairy lights is near an outlet or has a battery pack that can be hidden but is still accessible.
- Switch On the Lights: Once everything is in place, turn on the fairy lights to watch your bed transform into a dreamy, illuminated haven.
- Enjoy Your Canopy: Your illuminated canopy bed is now ready, offering a cozy, magical place to rest and relax.
4. Glowing Jars and Bottles

For a subtle and enchanting decor piece, fill clear jars or bottles with a strand of battery-operated fairy lights. These glowing containers can be placed on tables, shelves, or mantles, providing a charming light source that catches the eye. Mix and match different container shapes and sizes for a more eclectic look, or stick to a uniform style for a cohesive and sophisticated aesthetic.
Materials Needed:
- Fairy lights (battery-operated ones are most suitable)
- Clear jars or bottles of various sizes
- Batteries (if not included with the lights)
Installation Process:
- Prepare Jars/Bottles: Clean the jars or bottles thoroughly, removing any labels or residue. Dry them completely.
- Insert Fairy Lights: Take a string of battery-operated fairy lights and carefully insert them into the jars or bottles. For larger containers, you might need more than one string of lights or longer ones.
- Arrange the Batteries: Ensure the battery pack is at the bottom of the jar or bottle or hidden behind it if it’s clear. If the pack is unsightly, consider wrapping it with a piece of fabric or ribbon to disguise it.
- Turn On the Lights: Activate the fairy lights and watch as the jars or bottles glow with a warm, inviting light.
- Display Your Creations: Place the glowing jars or bottles on mantels, shelves, tables, or any spot that needs a bit of whimsy and light.
5. Photo Display with Fairy lights

Combine memories and light by using fairy lights to display your favorite photographs. Attach small clips to the lights and use them to hang pictures along the strand. This not only illuminates your cherished memories but also creates a warm, glowing gallery on your wall. It’s a perfect way to personalize your space and add a sentimental touch to the room’s decor.
Materials Needed:
- Fairy lights (consider the length based on how many photos you want to display)
- Your favorite photos
- Small clips or clothespins
- Hooks or adhesive strips
Installation Process:
- Plan Your Display: Decide where you want your photo display. A wall or above a piece of furniture works nicely. Measure the area to determine the length of fairy lights needed.
- Install Hooks/Strips: Place hooks or adhesive strips along the area where you’ll hang your fairy lights. Ensure they are evenly spaced and securely attached.
- Hang the Lights: Drape the fairy lights along the hooks or strips, creating a swag or straight line, depending on your preference. Make sure there’s access to an outlet or that the battery pack can be easily hidden and reached.
- Attach Photos: Using small clips or clothespins, attach your photos to the fairy lights. Space them out evenly and consider the balance of the display.
- Turn On the Lights: Once all your photos are attached, turn on the fairy lights. The twinkling lights will add a warm, ambient glow to your photos, highlighting your cherished memories.
- Enjoy Your Display: Step back and enjoy the personalized touch and soft illumination your photo display adds to the room.
Fairy lights offer endless possibilities to enhance your living space with a soft, ethereal glow. Whether you prefer a bold statement or subtle twinkles, incorporating these tiny lights into your room’s decor can lead to stunning results. Get creative and experiment with different arrangements and combinations to find the perfect luminous accent for your home. With fairy lights, you can turn any room into an enchanting and cozy haven. Follow Indoor Glow for more such blogs
[…] out our blog on 5 creative ways to Decorate Room with Fairy Lights for more creative […]